
← All notes Note N°01 / 04
Natural Light Interior Photography Essentials and Tips
Are you ready to perfect capturing natural light interior photography? Discover the essentials, but first, let’s tackle...
Ever wondered why some interior photos seem to just ‘pop’ while others fall flat? The secret often lies in the subtle yet powerful use of natural light. Leveraging natural light can transform dull interiors into captivating visuals that showcase every detail and create a welcoming atmosphere. In this post, I’ll walk you through the essentials and insider tips for mastering natural light interior photography, helping you achieve professional-quality shots with every click. Stick around to discover how to make natural light your best ally in capturing stunning interiors.
Available-light-first is how Luxhaus shoots — see the studio’s interior photography service, the Sneyd Park whole-house tour, or browse the full portfolio of South West interiors.
Essentials of Natural Light Interior Photography
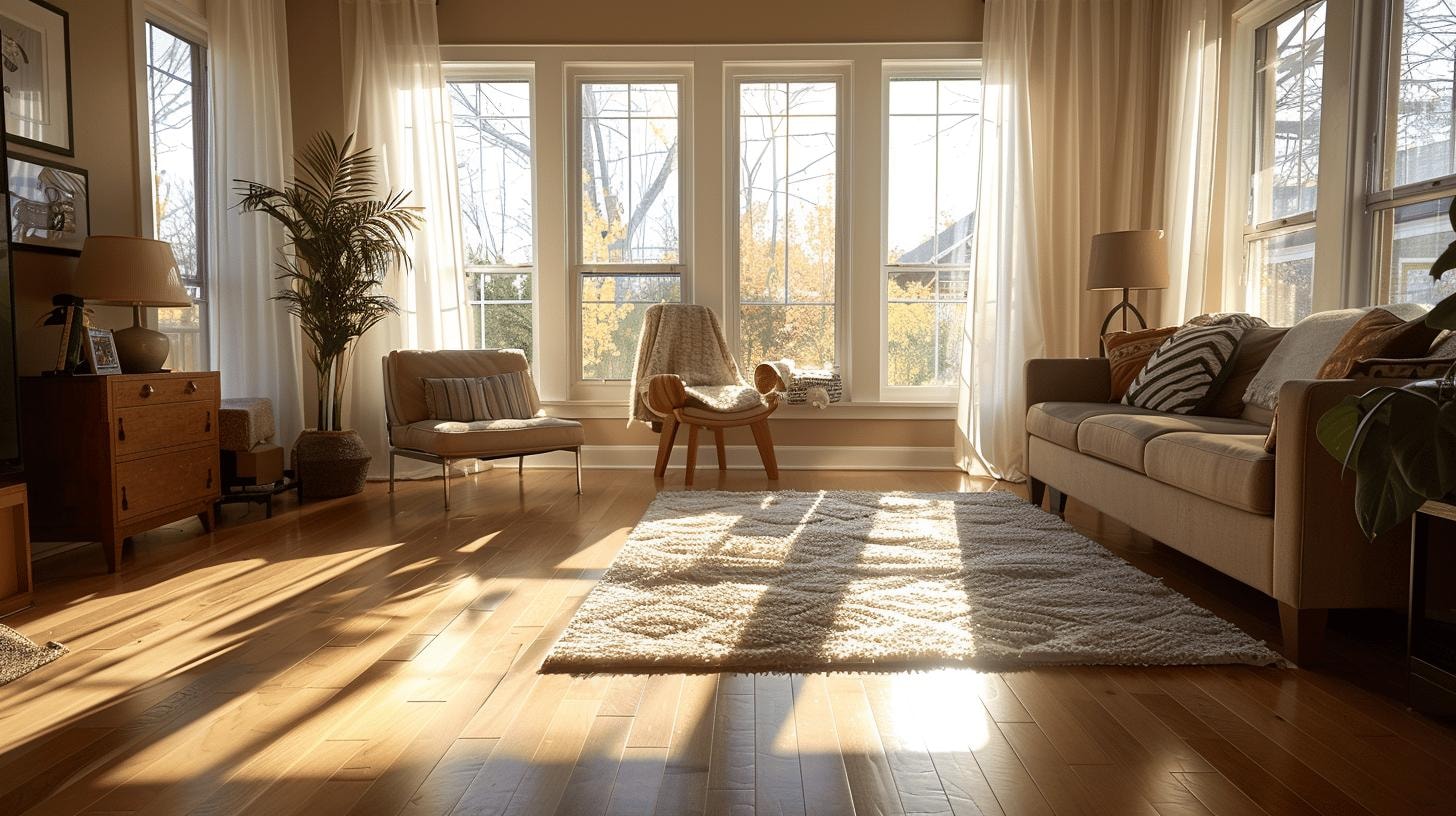
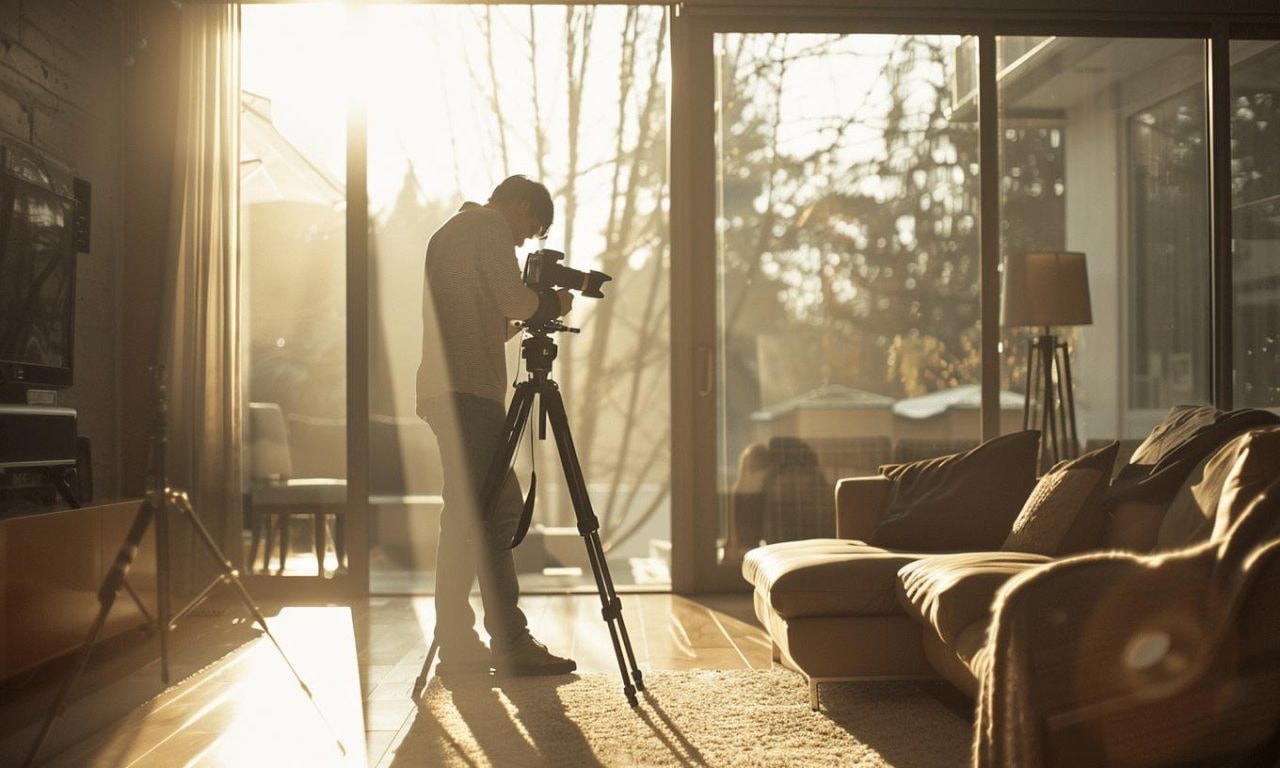
Natural light should always be the primary source for interior photography. It offers a soft, even illumination that brings out the true colours and textures of a room. Using a DSLR or mirrorless camera is essential for capturing interiors with high-quality results. These cameras provide the flexibility and control needed to adapt to varying light conditions. A wide-angle lens, preferably in the 16-35mm range, is crucial for encompassing entire rooms in a single frame, offering a comprehensive view of the space.
A sturdy tripod is indispensable for maintaining stability and achieving sharp images, especially in low-light conditions where longer exposure times are required. This allows for the use of smaller apertures and lower ISO settings, ensuring images are free from noise and blur. In addition, a remote shutter release or a timer can help prevent camera shake during long exposures.
- DSLR or mirrorless camera
- Wide-angle lens (16-35mm)
- Sturdy tripod
- Remote shutter release or timer
- Lens cleaning kit
One of the significant benefits of using natural light in interior photography is the enhanced aesthetic appeal it provides. Natural light renders colours more accurately and creates a welcoming and warm atmosphere. It is also cost-effective, as it eliminates the need for additional artificial lighting equipment. However, natural light can be inconsistent, requiring photographers to adapt quickly to changing conditions. By mastering the use of natural light, one can produce stunning, high-quality interior photographs that truly capture the essence of the space.
PROS & CONS of Natural Light Interior Photography
Understanding the benefits and challenges of using natural light in interior photography is crucial for achieving optimal results. Natural light enhances aesthetic appeal, rendering colours accurately and creating a warm, welcoming atmosphere. However, it also presents challenges such as dependency on weather and time of day, as well as managing shadows and highlights. Balancing natural and artificial light can be essential in low-light conditions to ensure a well-lit, balanced image.
Pros:
- Enhanced aesthetic appeal
- Natural colour rendering
- Cost-effectiveness
- Soft, even illumination
- Environmentally friendly
Cons:
- Dependency on weather
- Time-of-day limitations
- Difficulty managing shadows
- Inconsistent light conditions
- Requires strategic planning
Overall, the pros and cons of natural light in interior photography highlight the importance of adapting to varying conditions. While the benefits, such as enhanced aesthetic appeal and natural colour rendering, make it a preferred choice for many photographers, the challenges like weather dependency and managing shadows require skill and experience. By understanding and planning for these factors, photographers can leverage natural light to create stunning, high-quality images.
Best Techniques for Natural Light Interior Photography
Preparing your space and camera settings correctly is essential for capturing stunning natural light interior photographs. First, turn off all artificial lights to avoid mixed lighting conditions that can confuse your camera’s white balance. Open all curtains and blinds to let in as much natural light as possible. Using a low ISO setting (100-400) helps maintain image quality by reducing noise. A small aperture (f/8-f/16) ensures a broad depth of field, keeping the entire room in sharp focus. Additionally, setting a slow shutter speed allows more light to reach the camera sensor, but this requires a tripod to prevent blur from camera shake.
- Turn off artificial lights
- Open all curtains and blinds
- Use low ISO settings (100-400)
- Small aperture (f/8-f/16)
- Set slow shutter speed
- Use a tripod
- Use a remote shutter release or timer
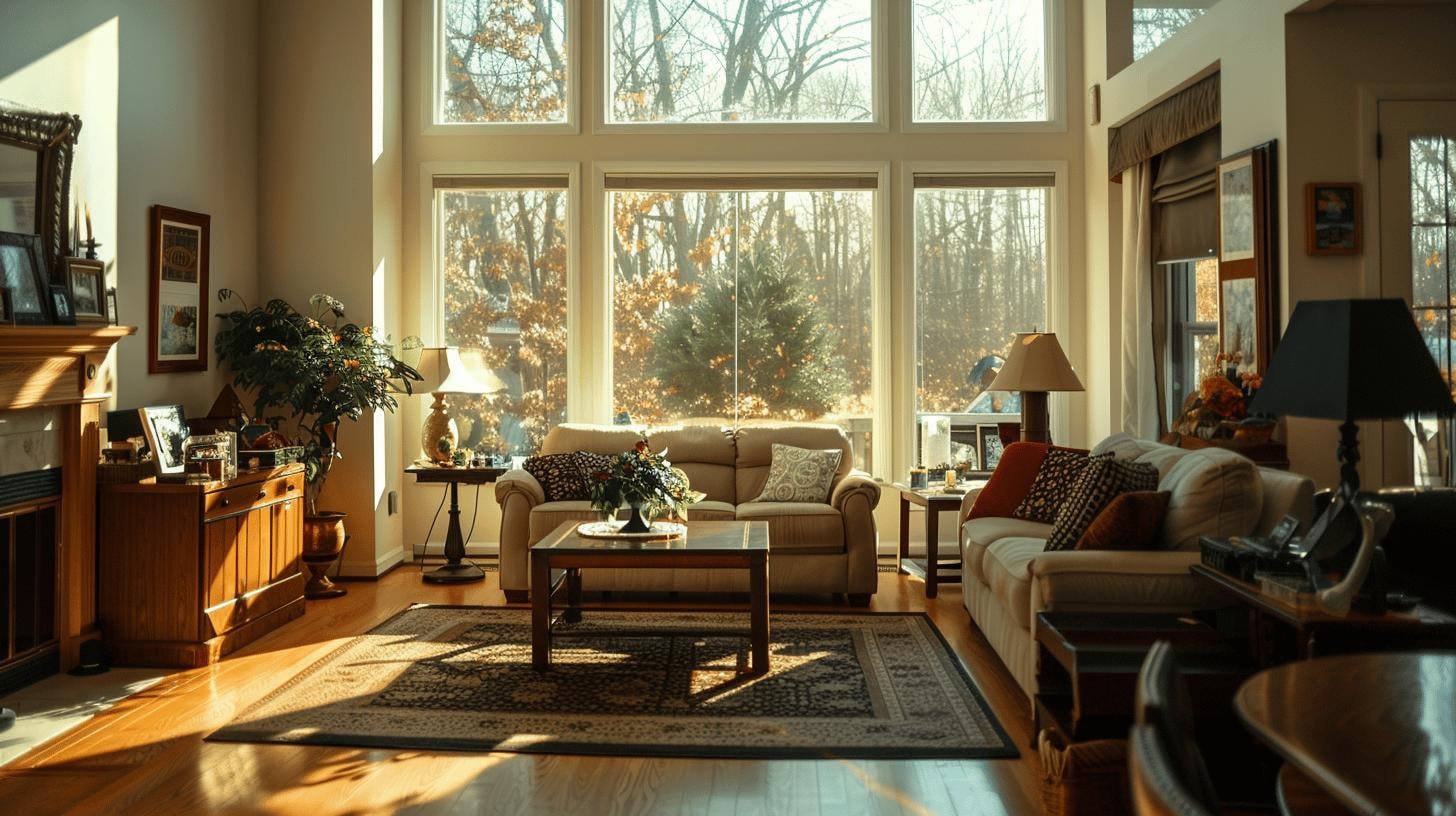
Positioning and timing are key elements in natural light interior photography. Place your subject close to windows or other sources of natural light to maximise the illumination. Morning and late afternoon light are often the most flattering, as the sun is lower in the sky and creates a softer, warmer light. Experiment with different angles to find the most appealing composition, and don’t be afraid to rearrange furniture to achieve the best results. Be mindful of how light interacts with various surfaces and materials in the room, as this can significantly affect the final image.
How to Enhance Natural Light in Interior Photos
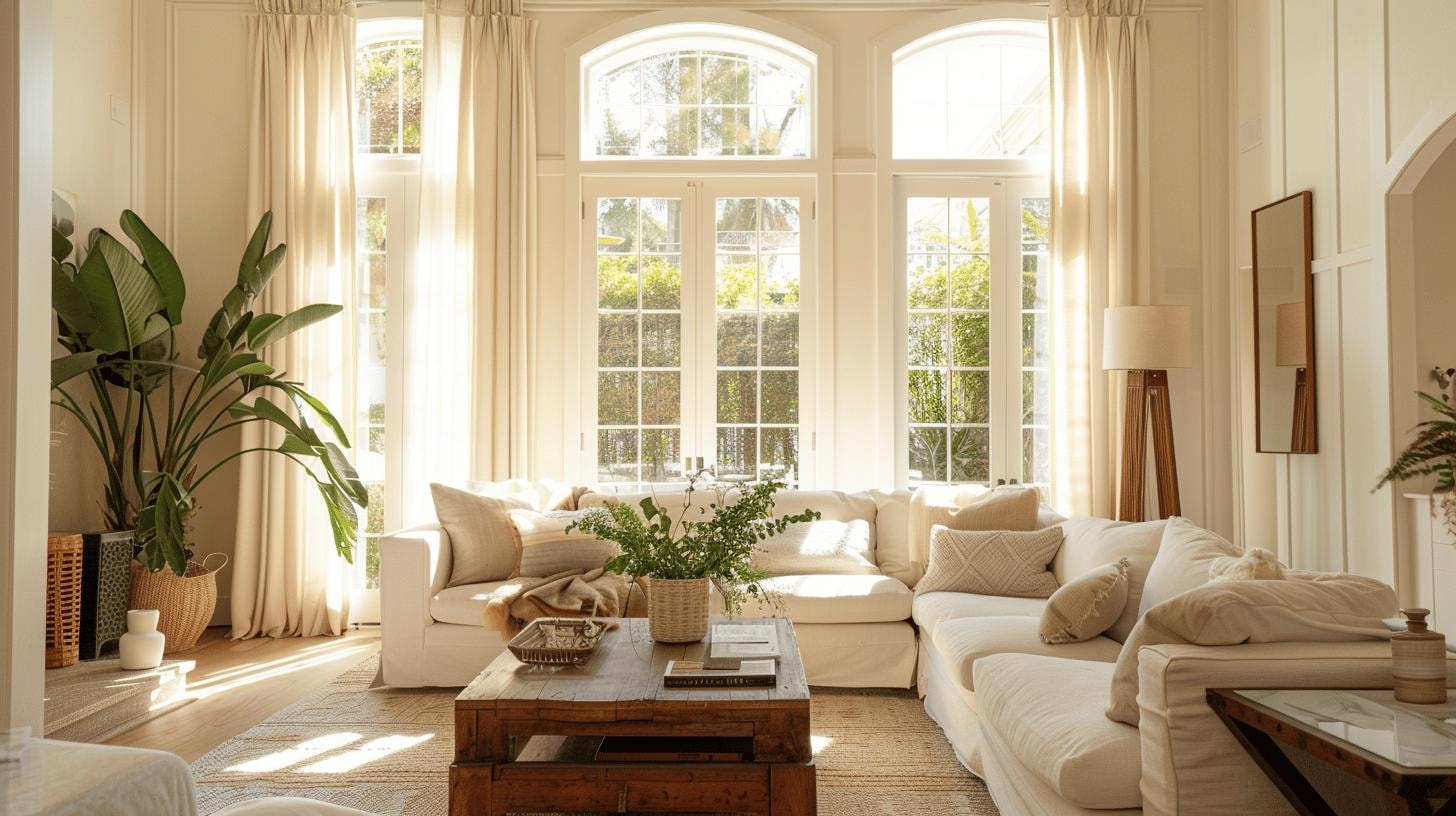
Improving the quality of natural light in your interior photos can elevate the overall aesthetic and bring out the best in your space. Reflectors are an excellent tool to bounce light back into the room, brightening up dark corners and reducing harsh shadows. Positioning furniture strategically can also help maximise light distribution. For instance, placing lighter pieces near windows can help reflect light deeper into the room. Light-coloured walls and ceilings are another effective way to enhance natural light, as they reflect more light than darker surfaces, making the room appear brighter.
- Use reflectors to bounce light back into the room
- Position furniture to maximise light distribution
- Use light-coloured walls and ceilings to reflect light
- Incorporate mirrors to direct light into darker areas
- Opt for sheer curtains to diffuse light softly
- Remove heavy drapes that block natural light
Interior design plays a crucial role in maximising natural light. Incorporating mirrors can significantly enhance the light in a room by reflecting it into darker areas, giving the illusion of a larger, brighter space. Sheer curtains are an excellent choice for diffusing light without completely blocking it, creating a soft and welcoming atmosphere. Removing heavy drapes or opting for light, airy fabrics can make a significant difference in how much natural light enters the room. By carefully considering these design elements, you can create a well-lit, inviting space that highlights the beauty of natural light in your interior photos.
Common Mistakes in Natural Light Interior Photography
Photographing interiors with natural light can be incredibly rewarding, but it also comes with its own set of challenges. Overexposing images is a frequent issue, as it can wash out details and make the photo appear flat. Not using a tripod is another common mistake, often resulting in blurry images due to camera shake. Ensuring the space is decluttered is essential; unnecessary items can distract from the subject and ruin the composition.
- Overexposing images
- Failing to use a tripod
- Not decluttering the space
- Improper white balance settings
- Ignoring glare from windows
To avoid these pitfalls, start by carefully monitoring your exposure settings. Use the histogram on your camera to ensure the image is well-balanced and not overexposed. A tripod is indispensable for maintaining stability, especially in low-light conditions where longer exposure times are necessary. Decluttering the space before shooting can significantly enhance the composition and focus on the subject. Correcting white balance settings is crucial for accurate colour representation; use a grey card to set a custom white balance if necessary. Lastly, managing glare from windows by using diffusers or shooting at different times of the day can help achieve the perfect shot.
Post-Processing Natural Light Interior Photos
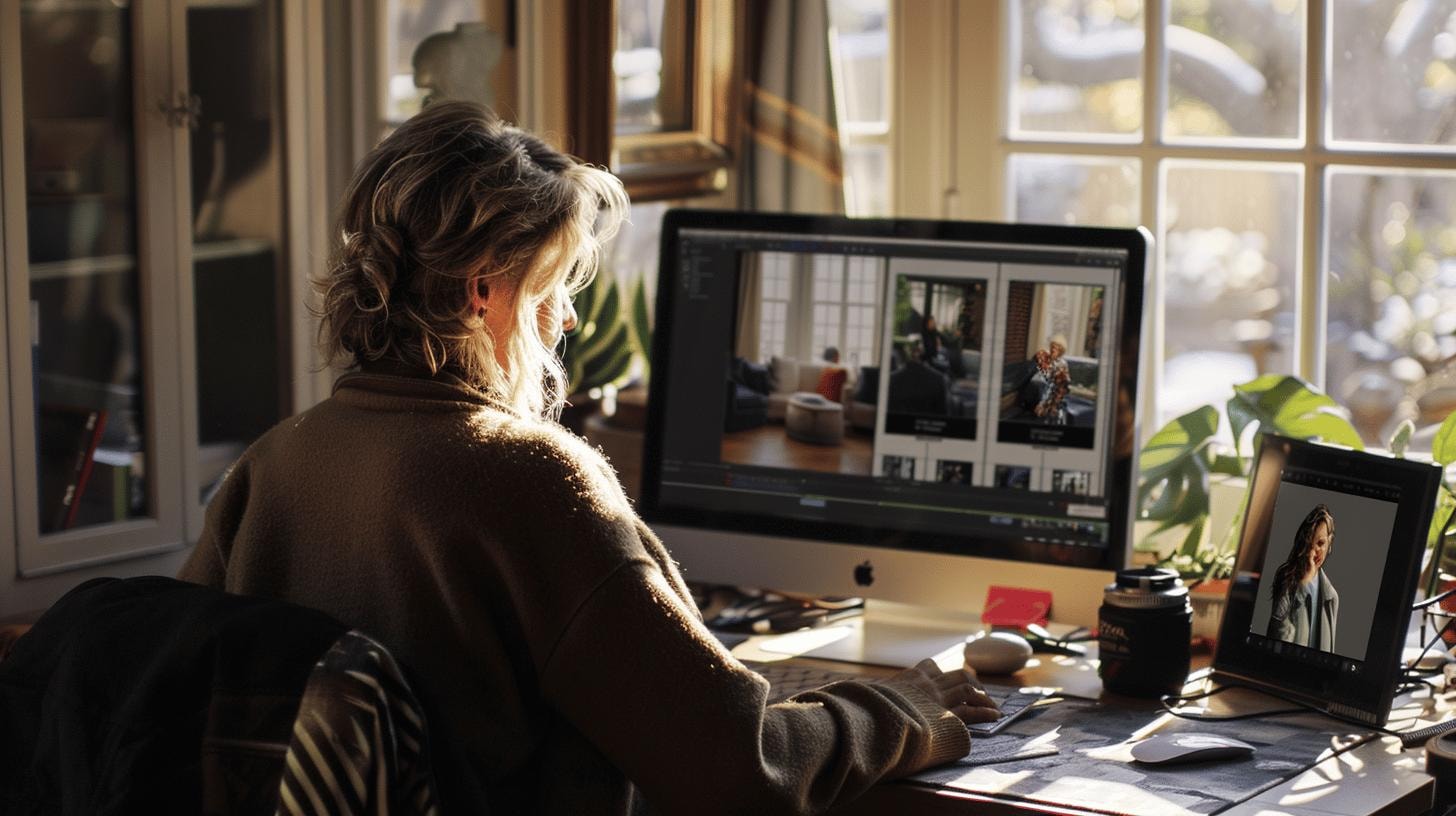
Post-processing is a crucial step in natural light interior photography. Why is post-processing important? Precision: it allows you to fine-tune your images, ensuring they accurately represent the space’s true colours and details. Enhancing your photos in post-production can elevate them from good to exceptional. It’s not just about correcting mistakes but also about optimising every element of the image. Adjusting brightness, contrast, and white balance are essential to achieving a balanced, natural look. Using advanced software like Adobe Lightroom or Photoshop provides the tools needed for these adjustments. These programs offer a wide range of features tailored for professional-quality editing. Focusing on noise reduction and sharpness is vital for maintaining the integrity of your photos, especially when dealing with lower light levels.
- Adjust brightness to achieve the desired light level.
- Set contrast to bring out details.
- Correct white balance for accurate colour representation.
- Reduce noise to maintain image clarity.
- Enhance sharpness to highlight intricate details.
- Maintain the natural feel of the photo.
Advanced techniques can further refine your images, making them stand out. What software should you use? Adobe Lightroom and Photoshop are industry standards. They offer powerful tools for detailed editing. For example, using local adjustments in Lightroom can help you selectively enhance specific areas of an image without affecting the entire photo. High Dynamic Range (HDR) techniques can merge multiple exposures to create a balanced image, useful for rooms with varying light levels. Understanding the dynamic range of your camera and how to manipulate it in post-production is crucial for mastering natural light interior photography. These advanced methods, combined with the right software, enable you to produce stunning, professional-quality images that truly capture the essence of the space.
Case Studies of Successful Natural Light Interior Photography
Delving into successful natural light interior photography projects offers invaluable insights and inspiration. By examining real-world examples, we can better understand the techniques that elevate a space from ordinary to extraordinary. Let’s explore some iconic natural light interior photos, highlighting the methods used and the resulting aesthetic impact.
- Modern Scandinavian Living Room: Before: Dim and cluttered. After: Bright, airy, minimalistic. Utilised large windows and sheer curtains.
- Rustic Kitchen Makeover: Before: Dark and dated. After: Warm and inviting. Employed strategically-placed mirrors and light-coloured cabinetry.
- Victorian Study Transformation: Before: Gloomy and cramped. After: Elegant and spacious. Introduced light-reflective surfaces and optimised window positioning.
- Bohemian Bedroom Revival: Before: Shadowy and dull. After: Vibrant and cosy. Leveraged morning light and well-positioned plants.
These case studies reveal several key takeaways. First, the strategic use of natural light can drastically transform a space, making it feel larger and more inviting. Incorporating elements like sheer curtains, mirrors, and light-reflective surfaces can enhance the distribution and quality of light. Additionally, the time of day plays a crucial role; morning light often provides a soft, warm glow that can elevate the mood of a room. By understanding and implementing these techniques, photographers can effectively harness natural light to create stunning, high-quality interior images.
Advanced Tips for Mastering Natural Light Interior Photography
Continuous learning and experimentation are crucial for mastering natural light interior photography. What makes a significant difference in your skills? Experimenting with different angles and perspectives. This approach allows you to uncover unique compositions that can transform a basic shot into an extraordinary one. The use of High Dynamic Range (HDR) techniques is another advanced method that can help balance light and dark areas in a room, ensuring that both highlights and shadows are well-represented. HDR is particularly useful in rooms with varying light conditions, such as a space with large windows and deep shadowed corners. Creative compositions and lighting setups can add layers of depth and interest to your images, making them stand out. Understanding the dynamic range of your camera and knowing how to manipulate it in post-production is essential for capturing the full spectrum of light and shadow in your shots.
- Experiment with different angles and perspectives
- Utilise HDR techniques for balanced lighting
- Explore creative compositions and lighting setups
- Understand and manipulate your camera’s dynamic range
- Use advanced post-processing techniques
- Continuously update your skills and knowledge
Mastering these advanced techniques offers numerous benefits. Firstly, it enables you to produce high-quality images that capture the essence of a space with precision and artistry. What sets professional photographers apart from amateurs? Their ability to adapt and innovate. By continuously updating your skills and staying abreast of new techniques, you ensure that your work remains fresh and relevant. Advanced methods like HDR and creative compositions can make your portfolio stand out, attracting clients who are looking for exceptional quality. Additionally, understanding the dynamic range and how to manipulate it can help you bring out the best in any lighting condition, making you a versatile and sought-after photographer. Mastery in these areas not only improves the quality of your work but also opens up new opportunities in the field of natural light interior photography.
Final Words
Navigating the essentials of natural light interior photography reveals the significant role of equipment and techniques to capture the best shots. This blog underscores the benefits and challenges of using natural light, providing pros and cons that balance the discussion. We explored practical tips and strategies to enhance natural light, avoiding common mistakes and focusing on effective post-processing techniques.
Natural light interior photography offers a unique aesthetic that artificial lighting can’t replicate. Mastering these skills not only enhances property appeal but also showcases unique features beautifully.
FAQ
How to get good lighting for indoor photos at night?
To get good lighting for indoor photos at night, use a combination of artificial light sources like softboxes or LED panels. Position lights to minimise shadows and use reflectors to evenly distribute light.
How to get natural lighting inside for photography?
To get natural lighting inside, open all curtains and blinds to let in daylight. Position subjects near windows and use reflectors to bounce light into darker areas for balanced exposure.
What is natural light in interior design?
In interior design, natural light refers to sunlight entering a space through windows, skylights, or other openings. It enhances the aesthetic appeal, illuminates interiors, and affects the mood and functionality of a room.
What is the best time to shoot with natural light indoors?
The best time to shoot indoors with natural light is during late morning and early afternoon. At these times, sunlight is soft and diffused, providing even illumination without harsh shadows.
What is the best lighting for interior photography?
The best lighting for interior photography is natural light from windows, complemented by reflectors to diffuse and bounce light. In low-light conditions, use soft artificial lights to maintain a natural look.