
← All notes Note N°02 / 04
Best Camera Setting for Night Time Hotel Photos
Planning the best camera settings for night-time hotel photography can seem daunting, but what if I told you there’s a shortcut to flawless shots? Imagine capturing the elegance of a hotel's lobby with perfect lighting. There's just one secret setting you mustn't overlook...
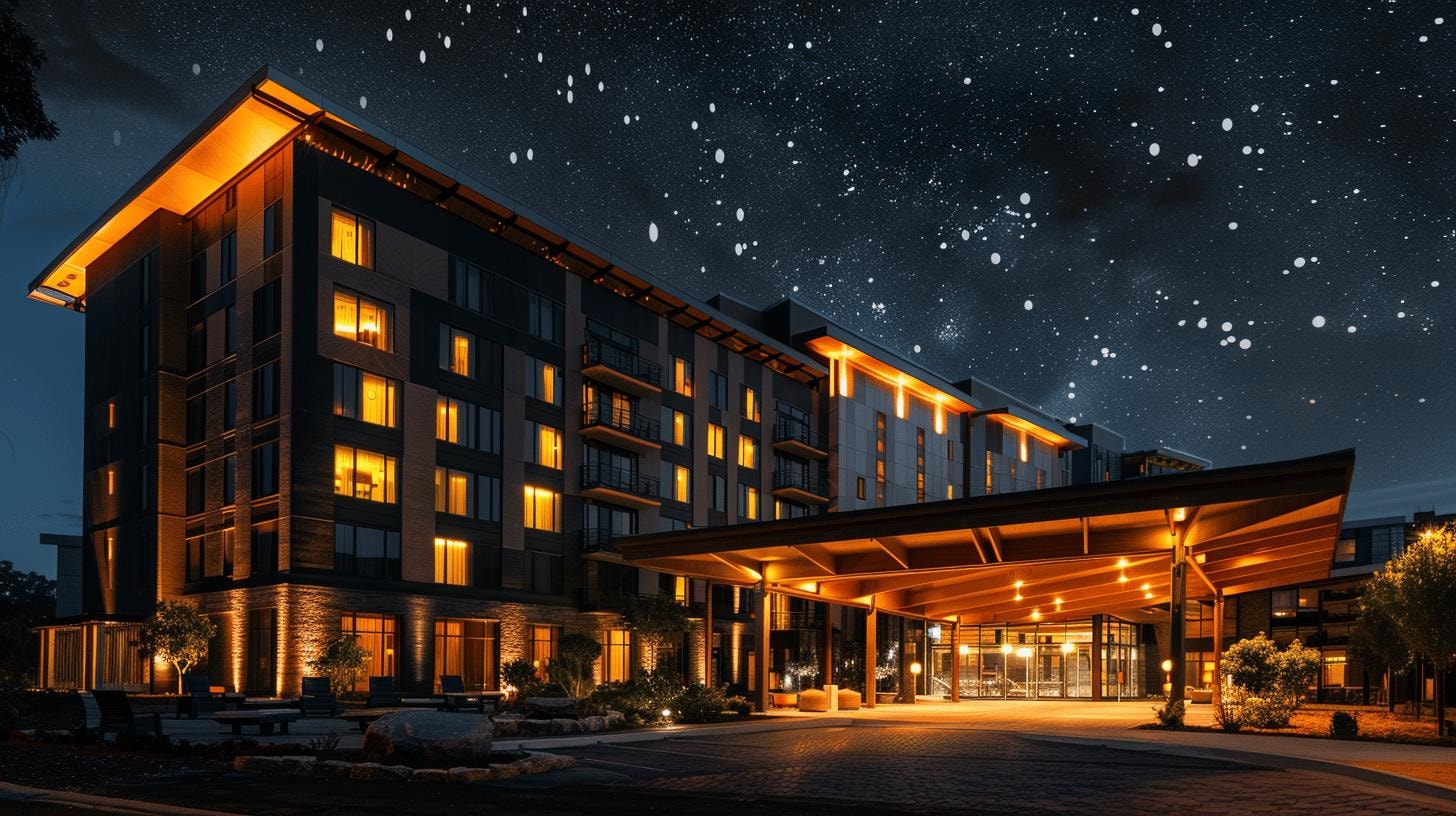
Ever tried capturing the enchanting allure of a hotel at night, only to end up with blurry, underwhelming images? Navigating the intricacies of night-time photography can be daunting, but the right camera settings can transform your photos from drab to captivating. This guide delves into essential camera settings—ISO, aperture, and shutter speed—tailored specifically for night-time hotel photography. Learn how to master Manual Mode to take full control of your settings, ensuring each shot showcases the hotel’s unique charm under the night sky. Ready for a deep dive into elevating your night-time photography game? Let’s get started.
Notes from the studio — written alongside Luxhaus’s commissioned hotel photography work in Bristol, Bath, and across the South West.
Essential Camera Settings for Night Time Hotel Photography
For night-time hotel photography, utilising a high ISO setting is crucial. Why is this important? It allows your camera sensor to capture more light, essential in low-light conditions. Aim for an ISO setting between 1600 and 3200. This range helps to brighten your images without introducing excessive noise. However, higher ISO levels can increase graininess, so balance is key. Use your camera’s noise reduction settings as well.
Aperture settings are equally important. Set your aperture to a low f-stop number, such as f/2.8 or f/4. This adjustment lets more light into the lens, crucial for night photography. A wider aperture also creates a shallow depth of field, which can enhance the aesthetic appeal of your shots. This setting is particularly useful for focusing on specific elements within the hotel room, like a piece of decor or a unique architectural feature.
Shutter speed is another critical factor. Use a slow shutter speed, around 1/15 to 1/30 seconds, to capture enough light. A slower shutter speed allows the camera sensor to gather more light over a longer period. However, this setting increases the risk of camera shake. To mitigate this, a tripod is essential. It stabilises the camera, ensuring your images remain sharp and clear. You may also want to use a remote shutter release to further minimize any movement.
Manual Mode is highly recommended for night-time hotel photography. It offers full control over your camera settings, allowing for precise adjustments. This mode lets you balance ISO, aperture, and shutter speed to achieve the best possible image quality. Auto modes can struggle in low-light conditions, often failing to capture the scene accurately. Manual Mode gives you the flexibility to adapt to varying lighting conditions within the hotel environment.
Setting
Recommended Value
ISO
1600-3200
Aperture
f/2.8 - f/4
Shutter Speed
1/15 - 1/30 seconds
Adjusting White Balance and Lighting for Night Time Hotel Photography
White balance settings are crucial for night-time hotel photography. Why? Because they help counteract the artificial lighting common in hotel rooms. For instance, adjusting the white balance to tungsten or incandescent settings can effectively mitigate the yellowish hue often present in indoor photos. This adjustment ensures that the colours in your images appear natural and accurate. You might wonder why this matters. A precise white balance setting can make a world of difference, transforming a dull image into a vibrant one with true-to-life colours.
Additional lighting equipment is invaluable for reducing noise and enhancing image quality. Using portable LED lights can significantly boost the overall brightness of your photos. These lights are versatile and easy to position, allowing you to highlight key areas within the room. Noise reduction is another benefit. By illuminating the scene adequately, you can use lower ISO settings, which helps to minimise graininess in your photos. This is particularly important in low-light conditions where noise is more prevalent. Reflectors and diffusers are also useful tools. They help to soften shadows and distribute light evenly, creating a more polished look in your images.
Angles and compositions play a pivotal role in utilising hotel lighting features. Experimenting with different perspectives can yield interesting results. Try capturing the room from various heights and positions to see how the light interacts with different elements. Natural light sources, like bedside lamps or wall sconces, can add a unique touch to your photos. By considering the room’s design and lighting, you can create compelling images that highlight the hotel’s interior aesthetics.
- Tungsten white balance settings
- Incandescent white balance settings
- Portable LED lights
- Reflectors
- Diffusers
Equipment Recommendations for Night Time Hotel Photography
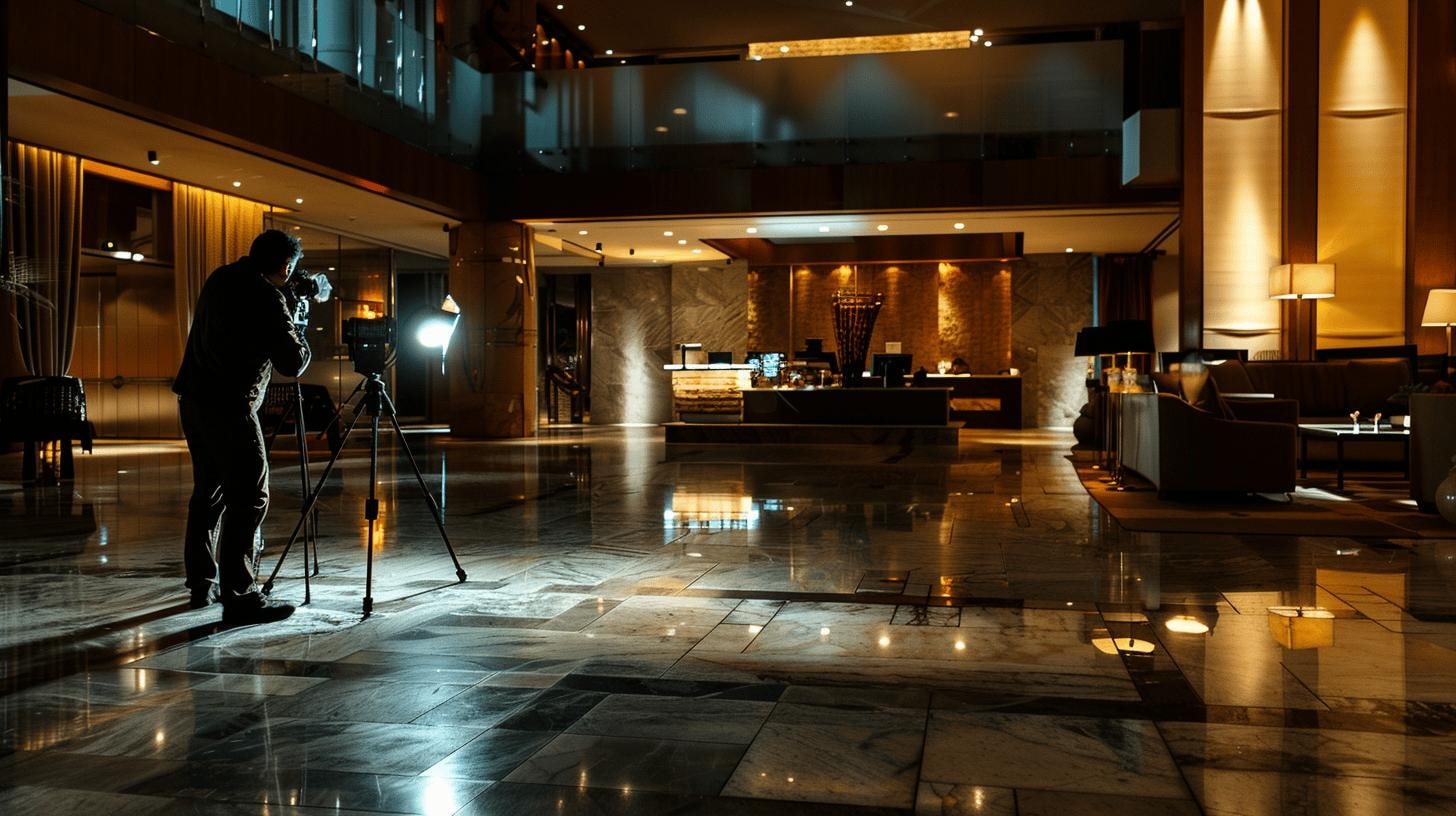
When it comes to night-time hotel photography, a tripod is an absolute necessity. Why? Because it stabilises your camera during long exposures, reducing the risk of blurry images caused by camera shake. For even greater stability, consider using a remote shutter release or your camera’s timer function. This setup allows you to take the shot without physically touching the camera, further minimising vibrations. Imagine setting up a shot of a beautifully lit hotel lobby; the last thing you want is an image ruined by a shaky hand. A tripod and remote shutter release work in tandem to ensure crisp, clear photos.
Now, let’s talk about cameras and lenses. For night photography, you’ll want a camera with excellent low-light performance. What does this mean? Look for models with high ISO capabilities, which allow you to shoot in darker conditions without sacrificing image quality. Cameras like the Sony A7S III or the Canon EOS R6 are excellent choices. But a good camera is only half the equation. Pair it with a lens that has a wide aperture, like an f/1.4 or f/2.8, to let in as much light as possible. This combination will make a significant difference in your night-time shots, capturing the ambience and detail of the hotel environment.
- Tripods
- Remote shutter releases
- Cameras with high ISO capabilities
- Lenses with wide apertures
Post-Processing Techniques for Night Time Hotel Photography
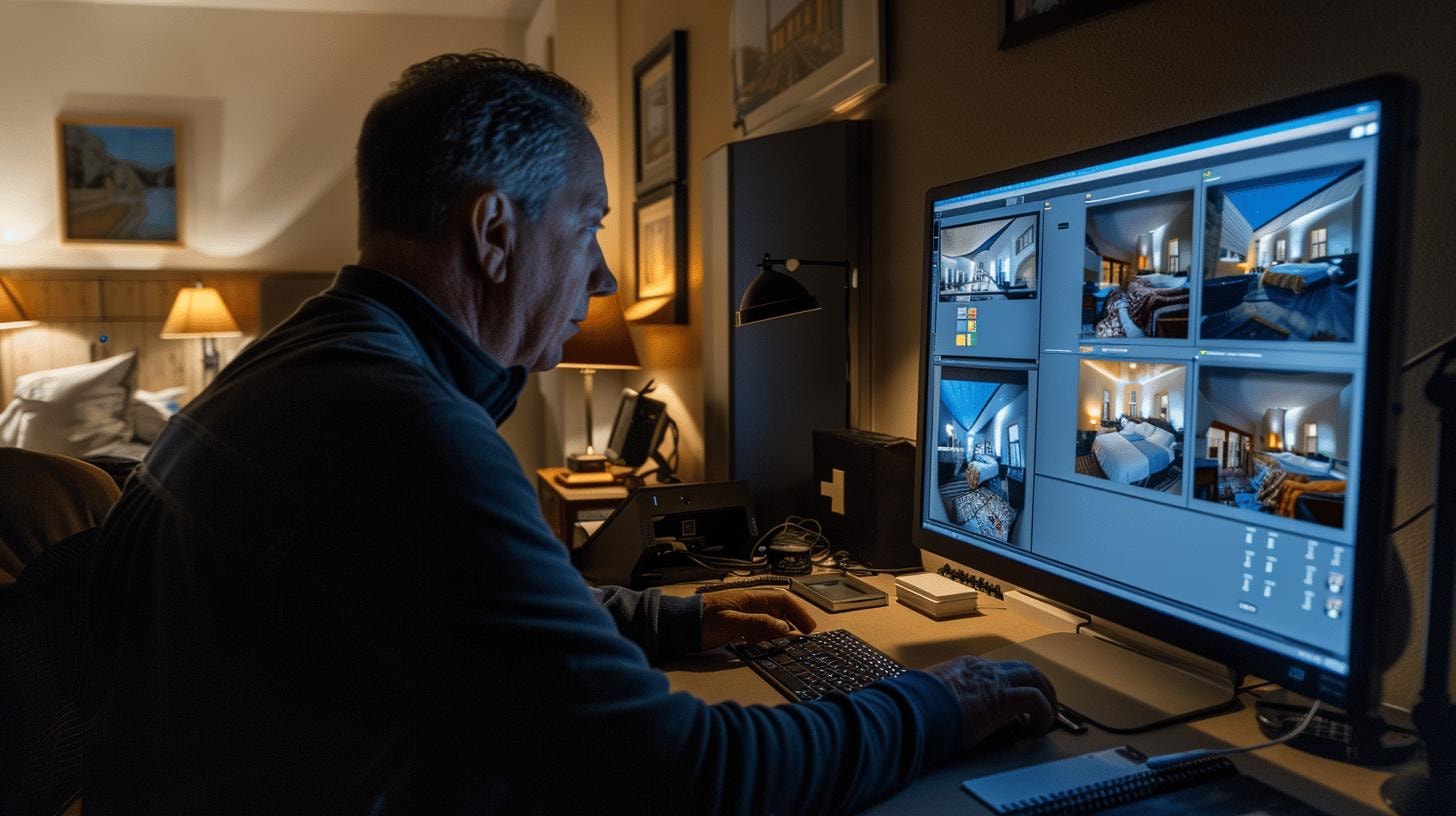
Why should you shoot in raw format for night-time hotel photography? The answer is simple: raw format retains more information than JPEG. This extra data gives you greater flexibility during post-processing. Imagine capturing the intricate details of a luxurious hotel room—the richness of the textures and the play of light and shadow. Raw files allow you to enhance these elements without compromising image quality. This is crucial for night-time shots where light is scarce, and every bit of detail counts.
Balancing exposure is another key aspect of post-processing. How do you achieve this? By increasing shadows and reducing highlights. This technique helps to create a more balanced image, making the dark areas more visible while preventing the bright spots from becoming overexposed. Think of a beautifully lit hotel corridor; you want to capture both the ambient lighting and the intricate woodwork. Adjusting shadows and highlights can bring out these details, offering a more comprehensive view of the scene. This method is particularly effective in low-light conditions where contrast can be extreme.
Noise reduction software is indispensable for night-time hotel photography. Why? Because low-light images often suffer from noise, which can ruin an otherwise perfect shot. Software like Adobe Lightroom or Topaz DeNoise can be used to minimize this noise, resulting in cleaner, more professional-looking images. Additionally, consider using HDR techniques for scenes with high dynamic range. HDR can combine multiple exposures to create a single image with a wider range of light and dark areas. This is particularly useful for capturing the full spectrum of a hotel’s interior lighting, adding depth and vibrancy to your photos.
- Raw format benefits
- Increasing shadows
- Reducing highlights
- Noise reduction software options
- HDR technique steps
Overcoming Common Challenges in Night Time Hotel Photography
Camera shake is a major issue in night-time hotel photography. How can you avoid it? Use a tripod. A tripod stabilises the camera, allowing for longer exposures without the risk of blurriness. Even the slightest movement can ruin a shot. A remote shutter release is another effective solution. This device lets you take photos without touching the camera, eliminating additional vibrations. The combination of a tripod and remote shutter release ensures that your images remain sharp and clear, even in low-light conditions. Imagine setting up a shot of a dimly lit hotel lobby. The last thing you want is a blurry image because of an unsteady hand.
Reducing noise and blurriness in low-light conditions can be challenging. How do you tackle this? First, set a low ISO. A lower ISO reduces noise but may require longer exposure times. Pair this with a wider aperture to allow more light into the camera. These settings work hand-in-hand to produce cleaner images. A wide aperture not only lets in more light but also creates a shallow depth of field. This can add a beautiful, creamy background blur, enhancing the overall aesthetic. However, be cautious; don’t go too low with ISO, as you might miss out on capturing enough light. Balance is key.
Bracketing is a useful technique for exposure control. Why is it beneficial? Bracketing involves taking multiple shots at different exposures. This method ensures that at least one image has the optimal exposure. It’s especially useful in diverse lighting conditions. You can merge these images later in post-processing for a well-balanced photo. This technique is particularly effective when dealing with high-contrast scenes, such as a hotel room with both dark corners and bright light sources. Bracketing offers flexibility and helps you capture the perfect shot, regardless of the challenging lighting conditions.
- Use tripod
- Remote shutter release
- Low ISO settings
- Wide aperture settings
- Bracketing techniques
Creative Techniques for Capturing Stunning Hotel Interiors at Night
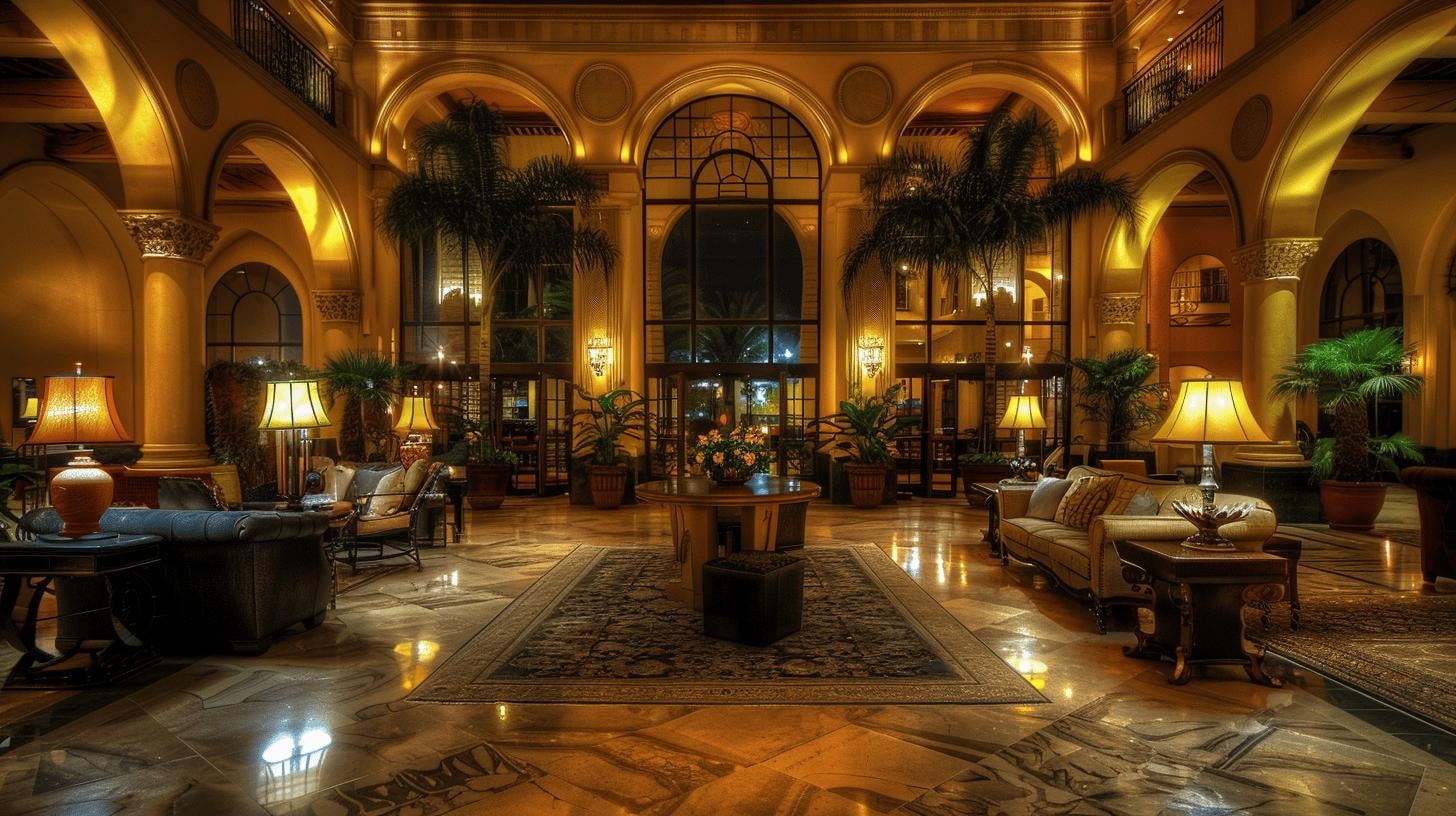
Why are angles and compositions so crucial in night-time hotel photography? They determine how you frame the shot and highlight the interior design. Consider capturing the room from various heights and positions. This experimentation can yield remarkable results. Maybe start with a low angle to emphasise grandeur, or a high angle to showcase the layout. How does this affect the photo? Different perspectives can make a mundane scene extraordinary. Move around, find unique viewpoints, and don’t be afraid to get creative. These changes in perspective can lead to striking images that capture the essence of the hotel’s design.
HDR techniques are invaluable for achieving a wider dynamic range. Why use HDR? It combines multiple exposures into one image. This method captures both the darkest shadows and the brightest highlights. Imagine a hotel lobby with dim corners and bright chandeliers. A single exposure may fail to do it justice. HDR allows you to balance these extremes. How does this work? Set your camera to take multiple shots at different exposures. Later, merge them using post-processing software. The result? A perfectly balanced image that showcases all the details. It’s a game-changer for night-time photography.
Light painting techniques can add creative lighting effects to your photos. But what is light painting? It’s a method where you use a light source to “paint” parts of the scene during a long exposure. Why consider this technique? It allows you to highlight specific areas, creating a dramatic effect. Use a small LED light or even a smartphone flashlight. Move it around the room to illuminate particular features. This technique adds a unique touch to your images, making them stand out. How long should the exposure be? That depends on the light intensity and the desired effect. Experiment to find what works best.
- Different angles and compositions
- HDR techniques
- Light painting tools
- Example scenarios
Final Words
Mastering night-time hotel photography involves a thorough understanding of essential camera settings, including ISO, aperture, and shutter speed. Adjusting white balance and using additional lighting help improve image quality. The right equipment, such as a tripod and cameras with high ISO capabilities, can significantly enhance your shots.
Additionally, post-processing techniques and overcoming common challenges are crucial for refining your photos. By implementing these strategies, you can achieve the best camera settings for night-time hotel photography, ensuring your images capture the true essence and appeal of the property.
FAQ
Best camera setting for night time hotel photography Nikon
The best camera setting for night time hotel photography with a Nikon is using a high ISO between 1600-3200, aperture of f/2.8, and a slow shutter speed (1/15-1/30 seconds).
Best camera setting for night time hotel photography for beginners
For beginners, start with ISO 1600, an aperture of f/2.8, and a shutter speed of 1/30 seconds. Use a tripod to avoid camera shake.
Night photography settings for mobile
For night photography on mobile, use the pro mode with ISO 800-1600, set the shutter speed to 1/15-1/30 seconds, and keep the aperture as wide as possible.
Camera settings for night photography without flash
Use manual mode with a high ISO (1600-3200), a wide aperture (f/2.8), and slow shutter speed (around 1/15 to 1/30 seconds). A tripod is essential.
Night photography settings Canon
For Canon cameras, use an ISO of 1600-3200, aperture of f/2.8, and a slow shutter speed (1/15-1/30 seconds) for optimal night shots.
Night street photography settings
For night street photography, use ISO 1600-3200, an aperture of f/2.8 to f/4, and a shutter speed of 1/30 seconds. A tripod helps to avoid shake.
Pro camera settings for night Android
In pro mode on Android, set ISO between 800-1600, a wide aperture of f/2.8, and slow shutter speed (1/15-1/30 seconds). Use a tripod for stability.
Camera settings for night sky photography
For night sky photography, use ISO 1600-3200, a wide aperture (f/2.8), and a long exposure setting (15-30 seconds) to capture more light.
What is the best ISO for night photography?
The best ISO for night photography ranges from 1600 to 3200, which allows capturing more light while balancing noise levels.
What ISO should I use for dark places?
In dark places, use an ISO setting of 1600 to 3200 to allow the camera to capture enough light without excessive noise.
Is a 2.8 aperture good for night?
An aperture of f/2.8 is excellent for night photography as it allows more light to enter the camera, improving image quality in low-light conditions.
Is f3.5 good for night photography?
An aperture of f/3.5 is acceptable for night photography but a wider aperture like f/2.8 is preferable for capturing more light.